God of War Inspired Level - Personal Project
Timeline: 1 Month
Team Size: Solo
Role: Level Design
This is a level I’m starting from scratch and am going to take through and document a full design process. I’m going to take it through level maps, blocking out, iteration, supporting blueprints in UE5, and final polishing. The level is going to be based on action-adventure gameplay similar to God of War 2018/Ragnarök. I’m going to be updating this page over the next several weeks as I complete different stages of the project, and until it is complete this page will serve as a dev-log.

This first map is a basic hand-drawn map I’ve created to get a basic idea of the space I want to create. I find that these quick hand-drawn maps are a good place to start since I can quickly erase and redo areas that I don’t like, and generally just get layout ideas on paper. I’m next going to take this rough map and create a rough block mesh in UE5 to sanity check the distances and scale of the different areas.With this first block mesh I’m going to also start working on supporting gameplay blueprints to better establish pacing. Once my first block mesh is complete I’m going to take what I’ve learning about how the space feels in a 3D environment and make a more detailed map in photoshop. Using the high detail map I’m going to create a high detail block out and collision in Maya, and then bring it back into unreal to polish with assets and final gameplay.

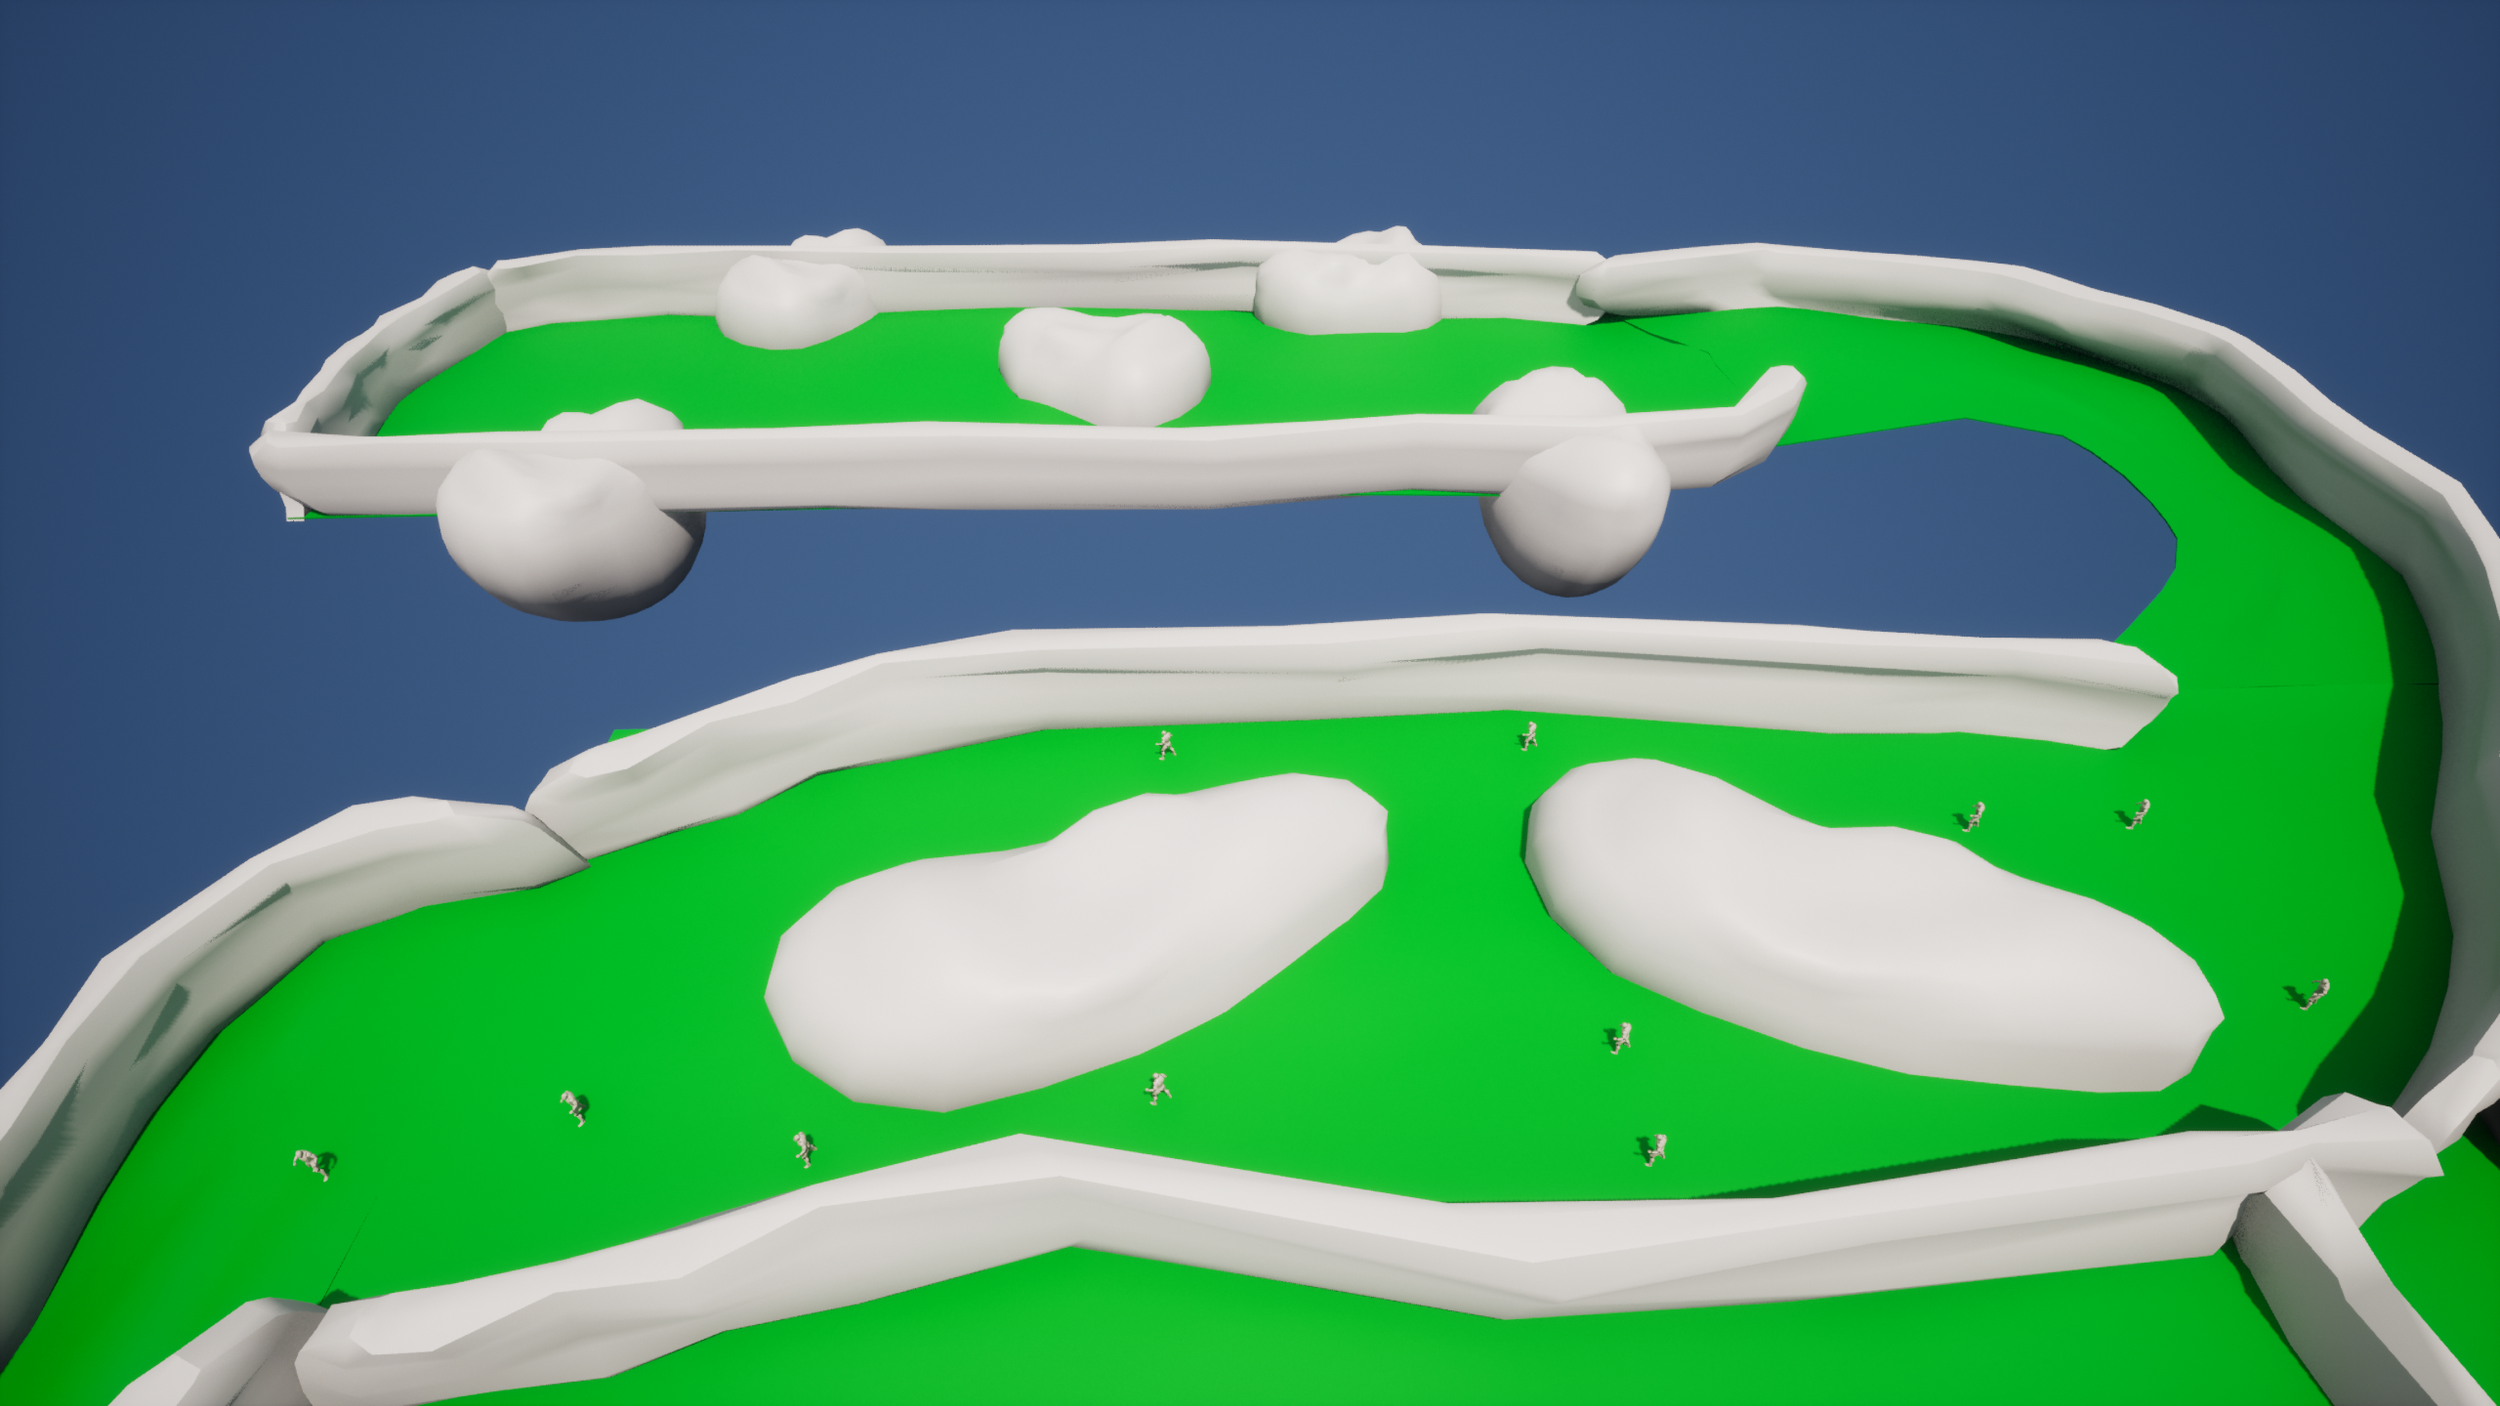
This is a top down of the first basic blockout for this project I made in UE5. The shapes like the perfectly spherical obstacles are not meant to be super accurate. This step was to get a better idea of the area in 3D space and what felt best with the gameplay mechanics as I was starting to flesh those out. There were some changes made from the first basic map such as the size of specific areas and their position in relation to each other. I'm next going to take this blockout and make a more precise map that will better serve the rest of the process.

This is the first combat encounter planned for the area. In a larger project this space would be used to introduce enemies or mechanics specific to this area.

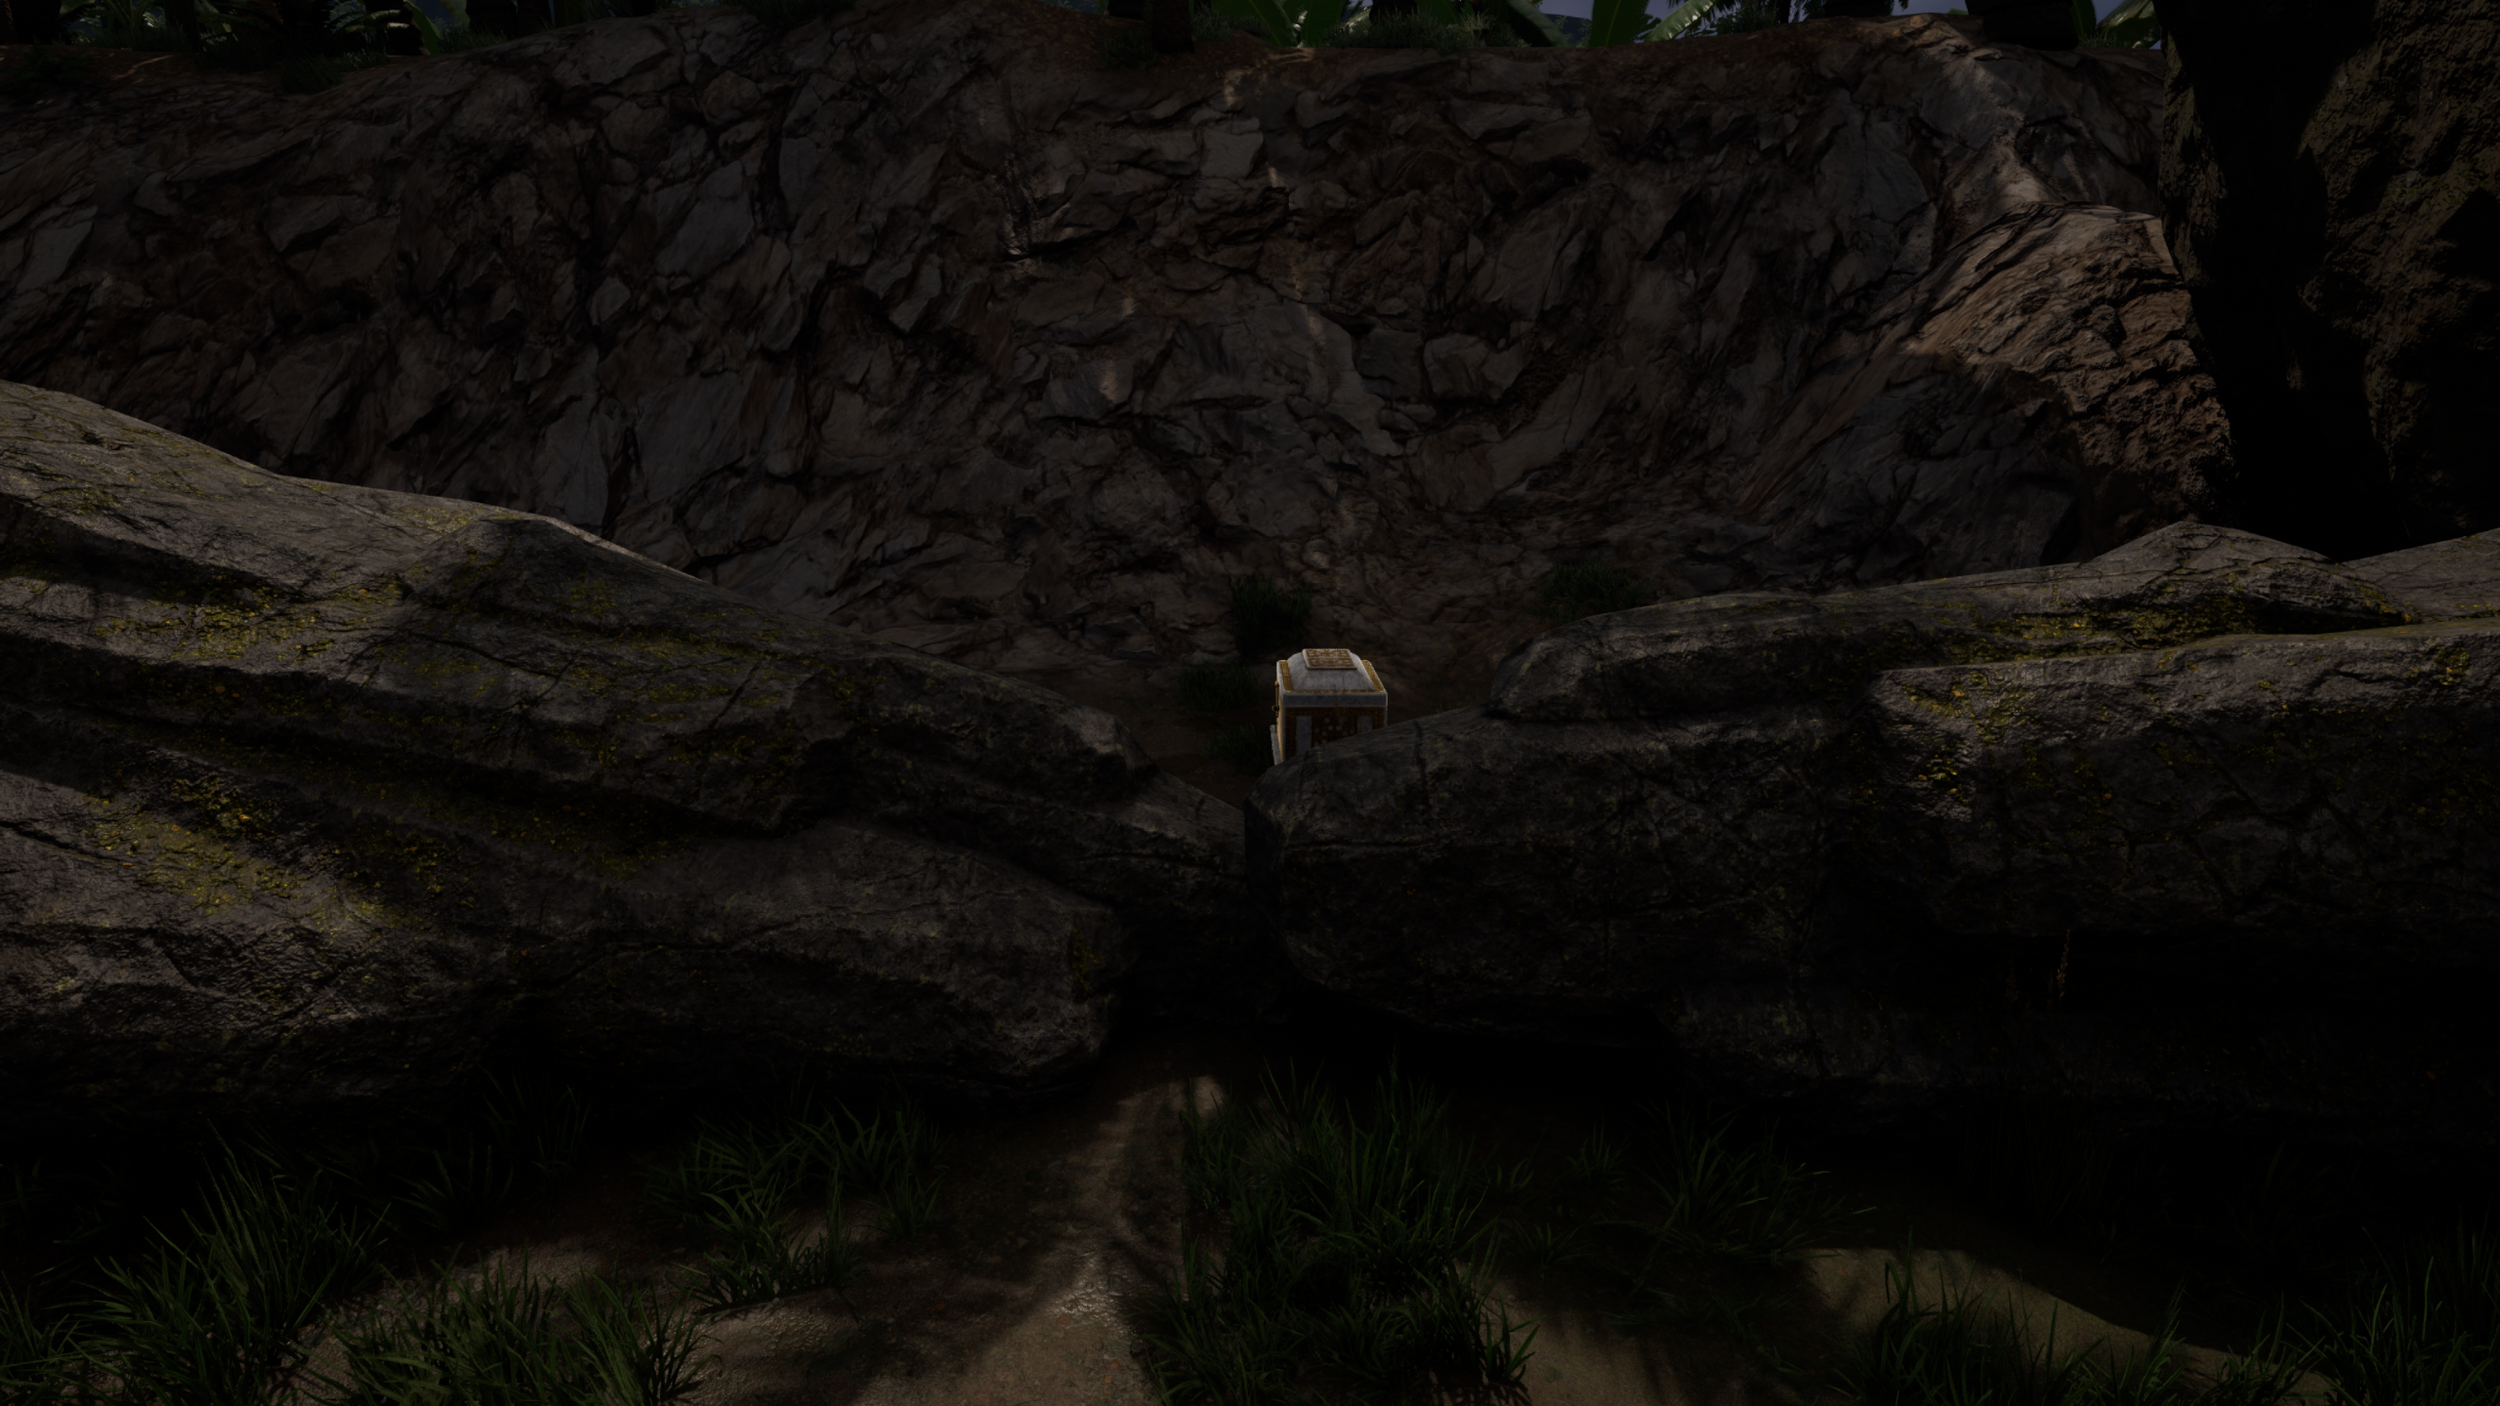
This is an additional encounter that can be entered after clearing the first, there is a semi-hidden path after the exit to the first room. The player can be rewarded for finding this area and clearing additional enemies with a loot chest. If they miss this area while going through it there is some space later where they will get a sightline to the chest, hinting to them that they can backtrack for the additional loot.

Shortly after the first encounter is this second encounter with more complex terrain and more enemies. Clever players may be able to use the terrain to separate enemies out so they don't have to fight as many at once.

This is a second semi-hidden area where the players can be rewarded with loot for exploring and fighting additional enemies. There is a tease where the player can see the chest after completing the first room to prompt them to be on the look-out for an entrance to the area.

This is the third major combat encounter. This area has large line of sight blockers that can give the enemies a chance to flank the player if they aren't paying attention.

This is a an area to house a boss or elite enemy for the area. If implemented into a full game with full mechanics this small area should be able to facilitate 5-10 minutes of gameplay.

This is the more precise map I've created with what I learned from seeing the space built out a bit in 3D and having more fleshed out mechanics to get a better idea of what feels best for this game. I'm going to be able to use this map to aid in creating a more detailed blockout in maya.

This is the full layout of the map as constructed in Maya. As with the steps before it there are some changes that had to be made with the design throughout as I got a more accurate picture of how everything was coming together.

Not much changed with the first combat area other than some slight adjustments to spacing between the platforms.

This optional room got a much more accurate representation that I had in mind with the shape of the obstacles to fight around.

The second main combat room got more accurate curvature to match the intended landscape of the area.

The path from the first and second combat rooms similarly got more accurate curvature to represent the landscape.
The third combat area and boss area saw some of the most drastic changes with the maya pass. Both areas saw some size changes and the space between them got much bigger to make the space flow better.
This is the final version of the map polished out with art assets. The changes of the design at this point were mostly due to limitations of the asset packs used and choices made to make the Level look and flow better. A lot of time went into optimizing the level with the foliage used to make it run as smoothly as possible.
The first combat room was largely unchanged. Though there were some additional considerations that had to be made to keep the design consistent while making the landscape and rocks look natural. The main consequence is that the walkways are slightly narrower than originally designed for.

The optional room had a major change in that the obstacles had to be changed from having more structure to a moundish shape. The asset packs used didn't allow for accommodation of the original design, and to maintain the visual design of the area they had to be changed.

This area was able to be carried through as originally intended with most of the additional considerations being with the visual design of the space.

With the added foliage this space ended up being narrower than intended but the space still flows well with the gameplay.

The boss area similar to the last area ended up being slightly narrower than intended but this also still flows correctly.

While design this area and considering the assets and materials I had available, I had made the decision to change the paths between areas to make them look eroded from flow of the lake uphill.

There are several places on the map to either give a preview of where a chest might be that can be accessed later, or show a chest that was missed that can be backtracked to.